Deployment Management
Deployments make your models available to the outside world. Like models, deployments are managed per use case: the Deployments view shows all deployments of a use case.
Creating a Deployment
You can create a deployment in two ways:
- via the
New deploymentbutton on the Deployments view, or - via the Deploy action of a model on the Model Management page (the model is then pre-selected).
In the creation dialog you configure:
Name- The name of the deployment. navio suggests common stage names such asdev,stagingandproduction, but you can also enter your own.Model- Optionally, the model that should serve the deployment's traffic. You can also assign models later via traffic orchestration.Type-Localto serve the model from your navio instance, orOn edgeto deploy the model to an external IoT or edge device (see Edge Deployments). For edge deployments you additionally select the edge management system, the target edge devices and the MQTT settings.
Deployment Overview
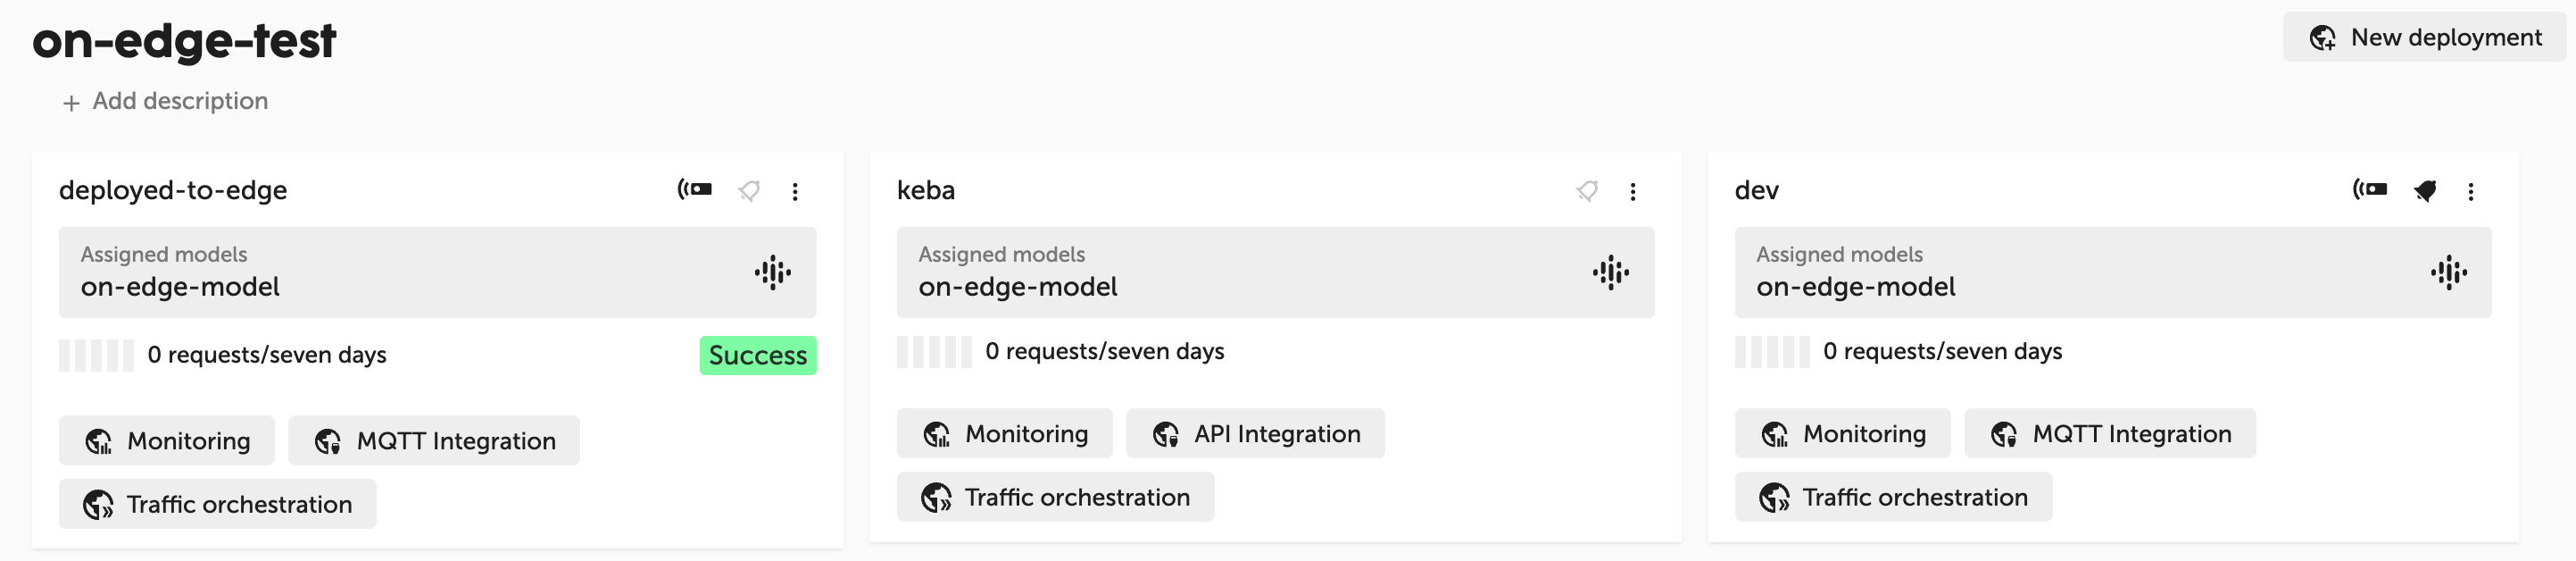
Each deployment is shown as a card containing its name, type (local or on edge), the assigned main model(s) and the number of requests made in the last 7 days including their out-of-distribution status.
From the card you can directly jump to the deployment's Monitoring, API Integration and Traffic orchestration views. Clicking the card opens the deployment detail page, which additionally shows quick info (created by/at, type, state, assigned models) and all deployment actions.
API Integration
The API Integration view contains everything you need to integrate the deployment into your applications:
- The endpoint URL of the deployment. The URL is stable and will not change, even when a different model is assigned to the deployment.
- The deployment keys used to authenticate requests via the
X-API-KEYHTTP header. Keys can be created and deleted at any time. - An optional client ID (
X-CLIENT-IDheader) to distinguish individual clients of the deployment; without it, clients are identified by their IP address. - An endpoint description per assigned model with a sample request body, an example response and an interactive mode to execute test requests directly from the browser (see Try Out View).
For edge deployments, the MQTT Integration view shows the configured MQTT broker URL as well as the publish and subscribe topics.
Deployment Actions
The context menu of a deployment provides the following actions:
Assign model
Assign a main model to the deployment. For more advanced setups such as traffic splitting and model shadowing, use the traffic orchestration view.
Download inference results
Download the requests and responses processed by the deployment's models for a selectable time range.
Activate / Deactivate notifications
Subscribe to the deployment to get notified when its state changes (e.g. when the majority of requests becomes out-of-distribution).
Activate / Deactivate
Deactivate the deployment to stop serving traffic without deleting it, and reactivate it at any time.
Rename
Rename the deployment.
Delete
Delete the deployment.
Permissions
The available actions depend on your permissions in the workspace, e.g. create deployment for creating and renaming, deactivate deployment, delete deployment or manage deployment access tokens for deployment keys. See User Management for details.